
Starting Seeds Indoors

Starting your seeds indoors earlier in the season helps give you a jump start on growing time for crops that take longer to grow such as tomatoes, peppers, or broccoli. Slow-growing crops like these may not even have enough time to reach maturity if you're waiting till the last frost date to seed. By starting your seeds indoors, you’ll have plants already 5-8inches to transplant into the ground by the time June rolls around.
For those of you who live at higher altitudes spring looks a bit different. Here in Flagstaff, we are at about 8,000ft in elevation and springtime is one of our most unpredictable weather seasons. Our temperatures change from one day being sunny in the ’60s, to freezings temps with snow the next day. Our last frost date for the high desert area is the end of June. So, due to our very short growing season, it’s always wise to get a jump start on starting some of your crops from seeds weeks in advance.

Knowing when to start your seeds each season is important to ensure your on schedule for a productive harvest. This season planing schedule lets you know when to start different vegetable, herbs, and flowers inside and outside. As well as how many days each crop takes to grow from seed to harvest.
No matter your growing zone, It’s always a good idea to start your seedlings indoors a few weeks before your last frost date. Not all seeds need to be started indoors. In fact, there are many crops that grow better when being directly sowed in the ground. Check out my planting schedule to know which crops to start indoors or outdoors, as well as when to start seeding and how long each of your crops will take to grow from seed-harvest. Referring to your schedule will help you know how to plan your season more successfully!
Seed Selecting

First things first, select your seeds and soil. As always to ensure environmental and personal health always choose Organic-Non Gmo seeds. The difference between Gmo seeds and Non-Gmo is how they originated and were cultivated.
Organic seeds or heirloom varieties are cultivated through pollination. They are produced from random pollination by wind, birds, insects, and other natural means. These types of seeds have evolved over hundreds or thousands of years and have withstood the test of time, weather, and climate. As heirlooms have been handed down from generation to generation, they adapt over time to specific places and climates. As well, they have evolved natural defenses to certain diseases, pests, and weather patterns. Helping to reduce local problems and pests naturally without resorting to chemicals.
Non Organic or GMO seeds are not produced through the natural way in a garden, but rather they are bred in a laboratory using modern biotechnology. These seeds are bred to grow bigger, withstand pests and other diseases, but in turn, ruin biodiversity that has been passed down through thousands of years. This method however in time does not produce well, contaminates natural ecosystems, soil health, and waterways as they are created to be used in relation with other chemical fertilizers, herbicides, and pesticides such as Monsanto’s “Round-up”. This poses major long-term environmental and human health problems.

How to start your seeds indoors
What you’ll need:
Cell trays, egg cartons, pots, recycled toilet paper rolls, use what you have!
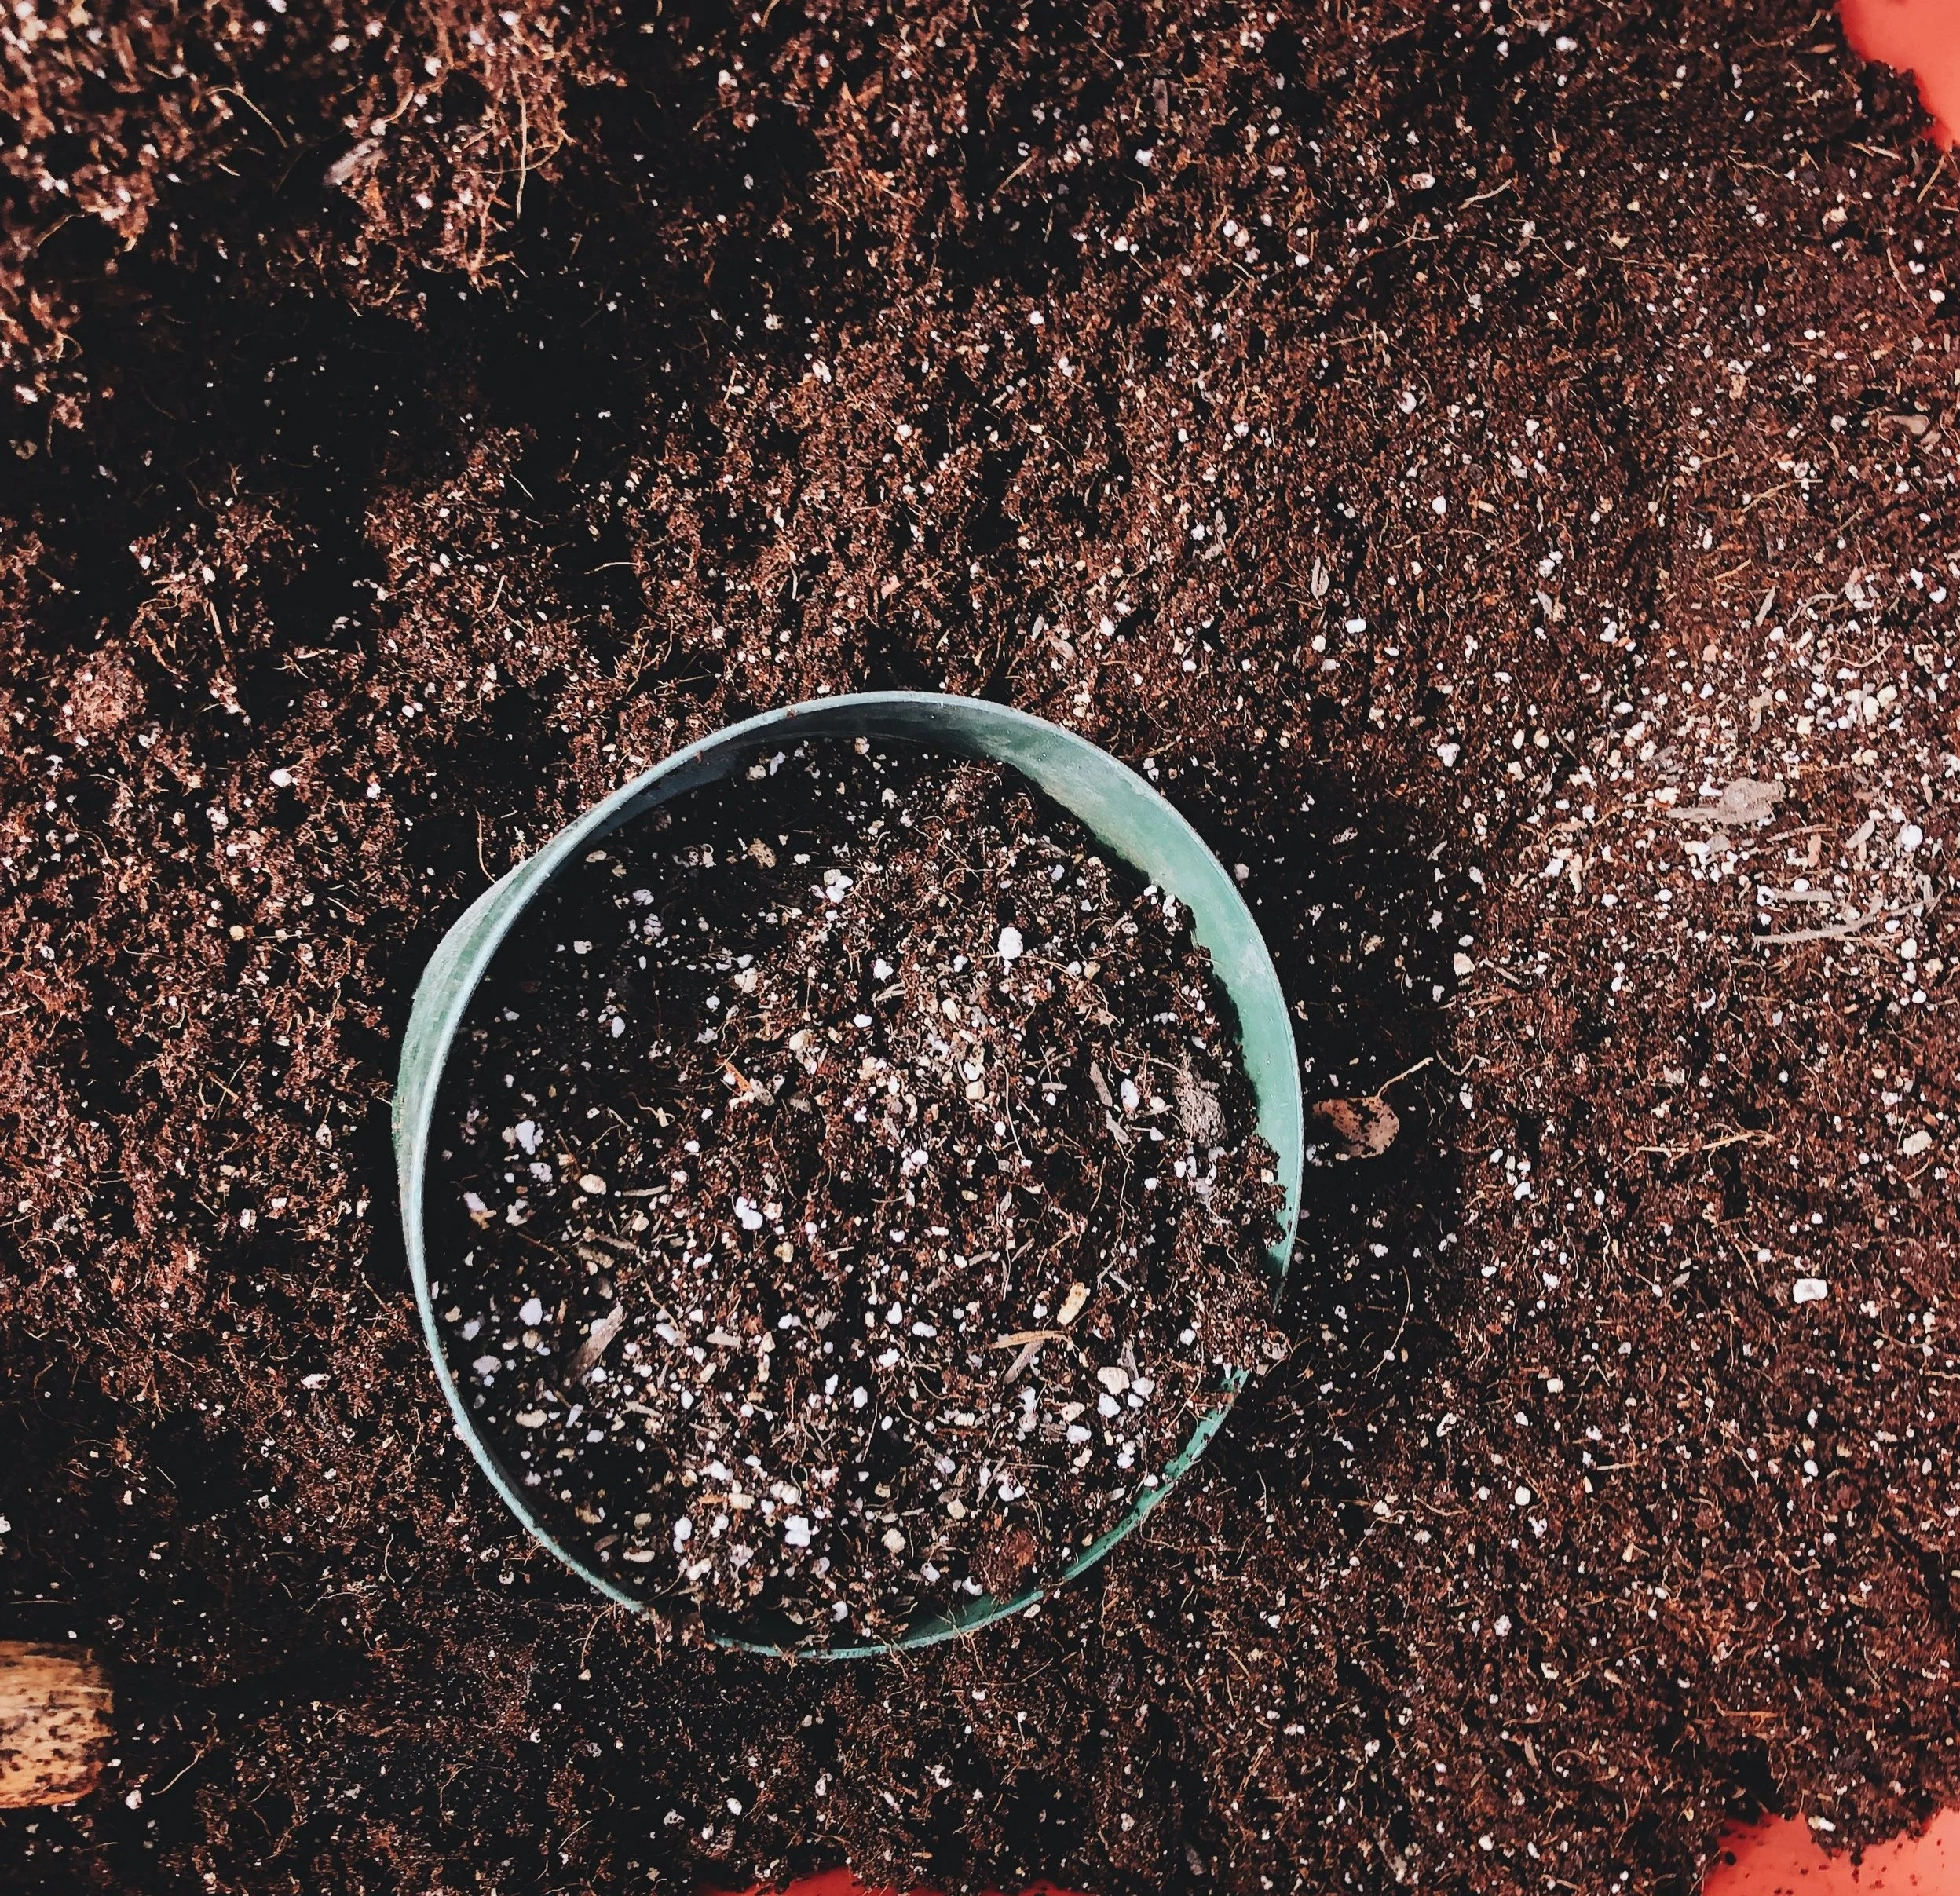
Seed starting soil mix: a different growing medium specifically for seedlings. I like to use a blend of coconut coir (more sustainable option than peat moss) vermiculite, perlite, worm castings, or compost.
RECIPE:
1 block coconut coir
1.5 C worm castings or compost
1.5 C vermiculite
1.5 C perlite
Pen & labels
Seeds
Watering can or shower hose
Grow lights or greenhouse. Seeds need a warm and sunny space either under grow lights or in a greenhouse. Temperatures usually need to stay between 60-80 degrees for germination with ample airflow.
How to begin:
Combine soil mixture, and fill tray cells to the top.
Gently pack down to ensure there are no holes or empty spaces. The keyword here is “gently” you do not want each cell to be too compact as roots need room to spread out and grow properly.
Water using a shower setting to saturate the soil. Make sure the soil is glistening, and test by sticking a finger in the bottom to make sure it is evenly saturated.
Sow 1-3 seeds in the middle of each cell. This ensures at least one of your seeds will germinate.
Read the back of seeds packs to determine how deep seeds need to be sewn.
Rule of thumb: For tiny seeds gently broadcast over the soil, and sprinkle additional soil on top to keep from moving when watering. Medium to larger seeds need to be planted as deep as the seed is wide. Cover with soil completely.
After seeds are planted, gently water again making sure not to get too close as this can cause compaction in the soil.
Make sure to check your starts daily as you do not want the soil to dry out during the germination process.
Once sprouts emerge they will need direct sun for 8-10 hours. At this point, you can “harden off” your seedlings by letting the soil dry out a bit.
Once sprouts are 3-4 inches tall, you may need to re-pot into bigger pots or transplant them outside after last frost.
If your seedlings become “leggy” they need more sun!

A deeper look into knowing the perfect soil blend for your raised beds or open garden. Learn what type of soil you have, how to amend properly, and what the difference is between compost, topsoil, potting soil and more! This e-book will also help you with a step by step process on how to start your seedlings indoors!
Always refer to the back of your seed packs for more guided information on each particular seed your planting. If you’d like to take your knowledge a step further check out my Seeds & Soil E-book to learn what type of soil you have, how to amend properly, and what the difference is between compost, topsoil, potting soil, and more! This e-book will also help you with a step-by-step process on how to start your seedlings indoors!